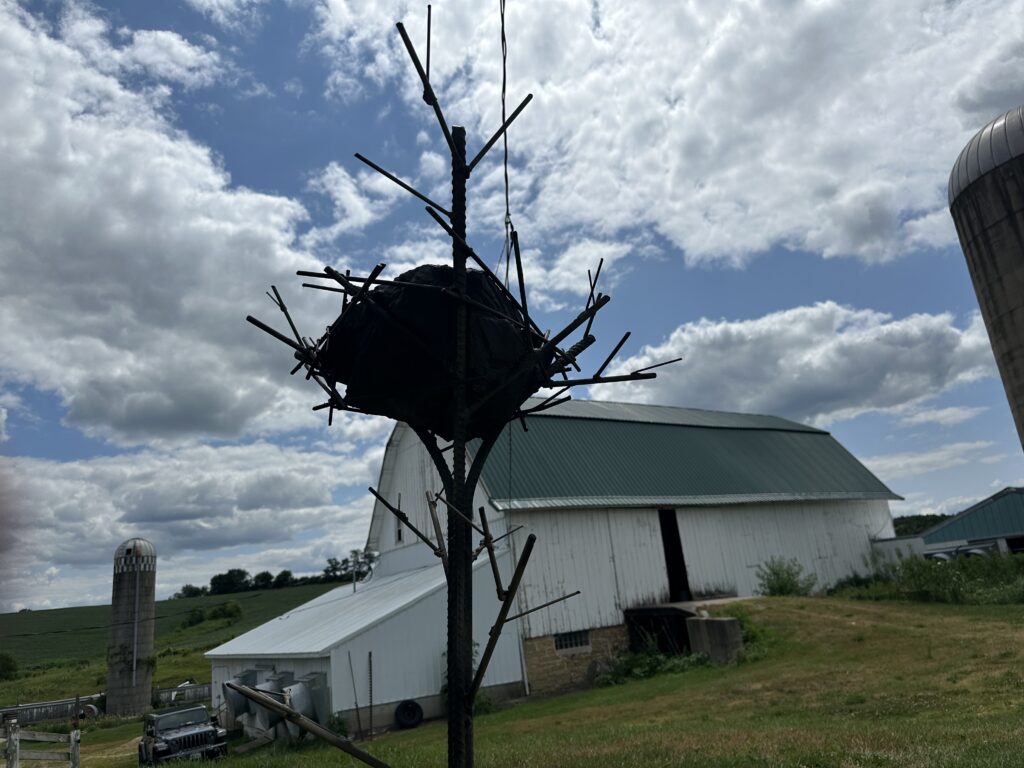
Why make an Eagle’s Nest Birdbath?
Why would I make an eagle’s nest birdbath? Well, sometimes, I just like to surprise people. Maybe it is self-serving, making my “feel good” meter go way up, when I see someone so excited getting a gift. Throughout my old farmhouse, I have things that were bought on Amazon, Walmart, Target…I don’t have any connection to them…they are things. Scattered through my 4,000 square foot home are my possessions…the things that are “one-of-a-kind”. These were picked up at a craft fair, a garage sale, an antique store, a bottle of J Henry, that I purchased and Joe Henry signed or things either my daughters, my dad, mom, Nikki or I made…those are my treasures.
I try to do the same when I give gifts. I’m not afraid to try anything, from fixing a failed Odoo implementation to welding, woodworking, remodeling my house or running farm equipment.
For Nikki’s birthday, I needed something special. She loves bald eagles (so do I), so for her birthday, I thought about my “River Series” products that I’ve been thinking of building and tying it to eagles. While she enjoys going to Sauk City, WI or Wabasha, MN and viewing eagles…her real love is watching the fledglings in the nest. So, I combined my idea of an iron birdbath and the bald eagles, and came up with an eagle’s nest birdbath.
Bending the iron
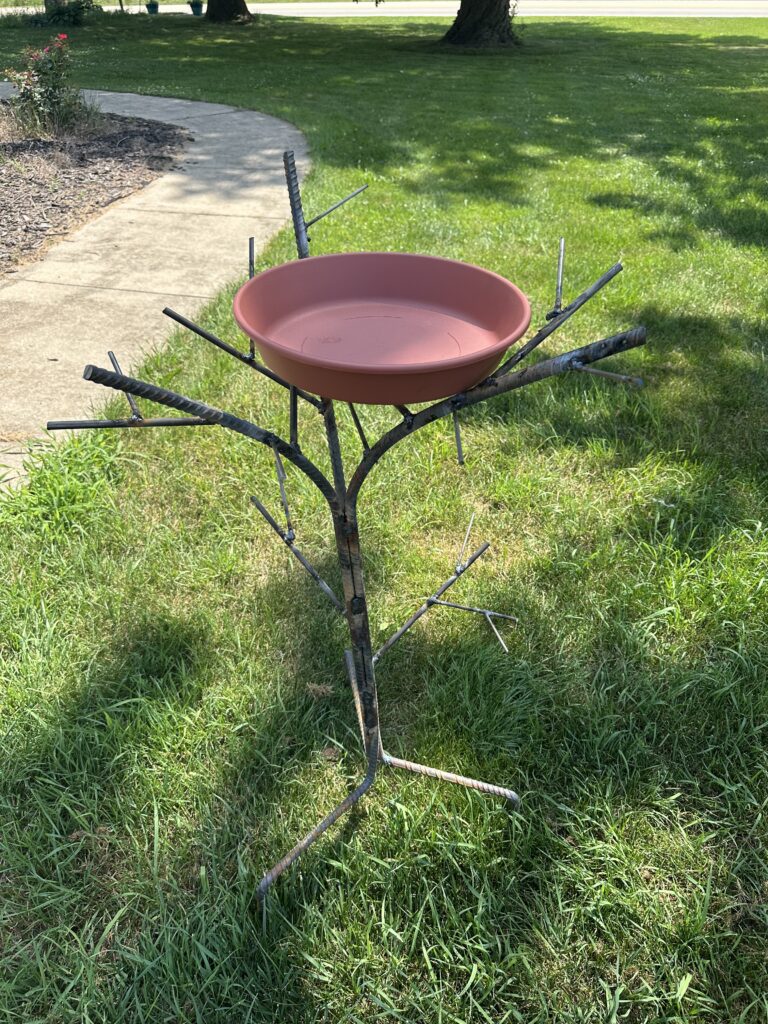
I started with re-rod, that you would get at Home Depot, Menards, or Lowe’s, usually in the cement aisle. The plan was to add lengths of steel, that you can also get at those stores, and made a tree.
For the re-rod, I heated it with my map torch until it glowed (if I made more, I’d look into an acetylene torch), then bent it. If you don’t get hot enough, you won’t get nice 90-degree angles, as I found out. You will need to get them hot, then bent them in a vise. (ignore the mess, I’m working on it). Wear good gloves while doing all of this to protect your hands from the heat and sharp edges.
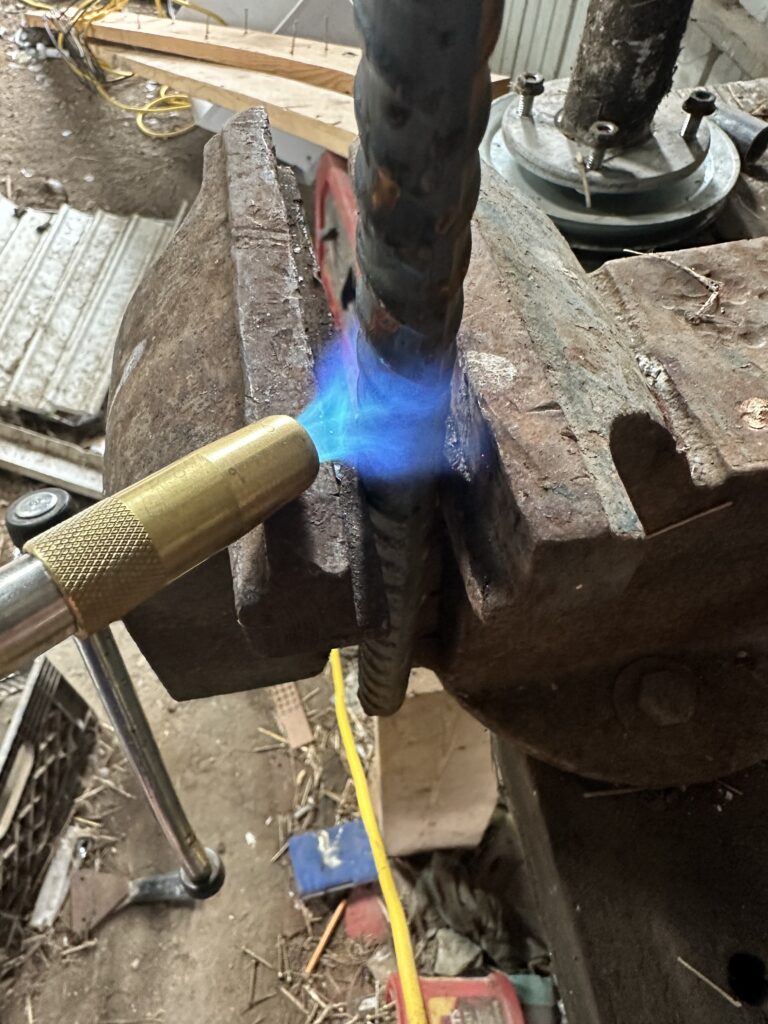
Once I had 3 bent, I put them together with zip ties, then spot welded them together, making the trunk of my tree. Then I added the smaller and smaller rods to make branches and sub-branches.
Hypertufa Cement
After having those welded, I needed my nest. Hypertufa cement is something I have been reading up on. This is a cement mix that uses perlite and peat moss instead of sand and gravel. The difference is about 50% of the weight. It is a little more porous, so you also need to keep that in mind.
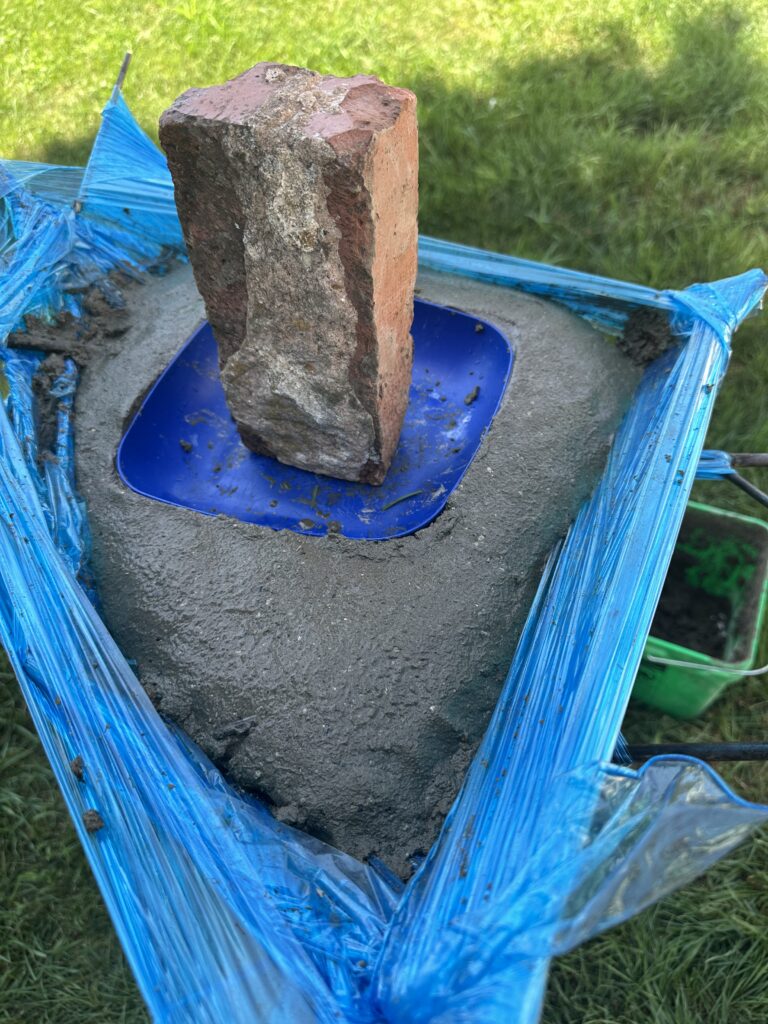
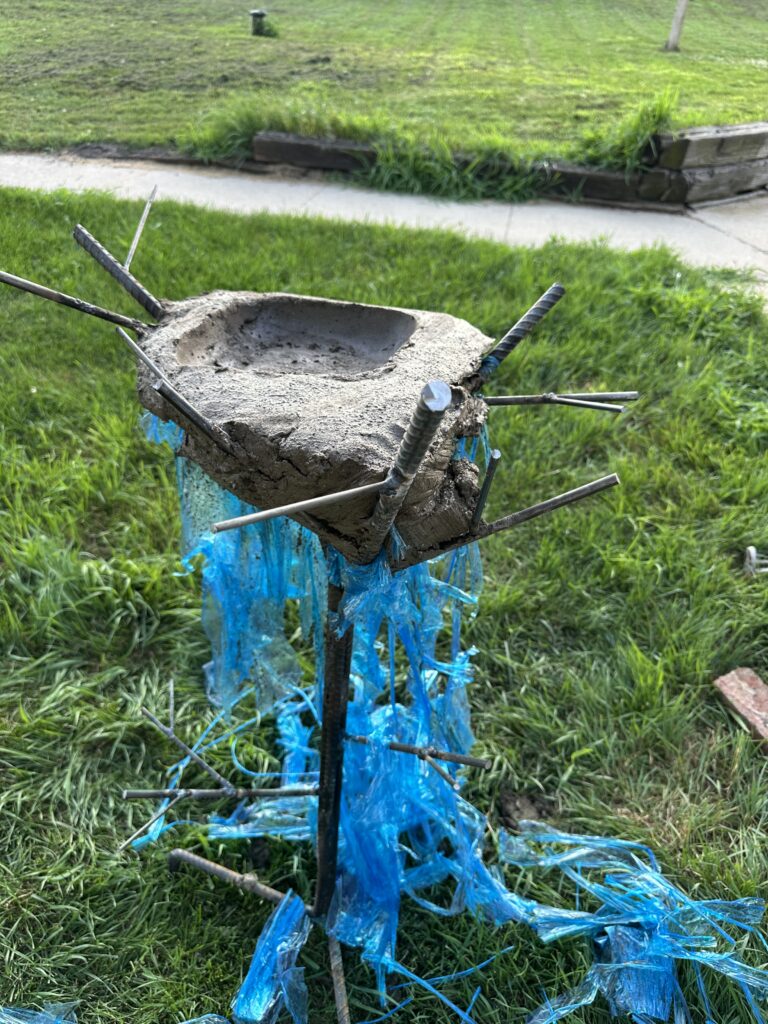
Remembering back to our last trip to Red Wing, MN, we were able to watch cement artists CVJ Designs, David & Shelly Speedling, work their magic. One of their techniques was applying a layer of cement slurry as paint to the exterior of the statue. This helps to help cover all of the pores. So, I used the same technique.
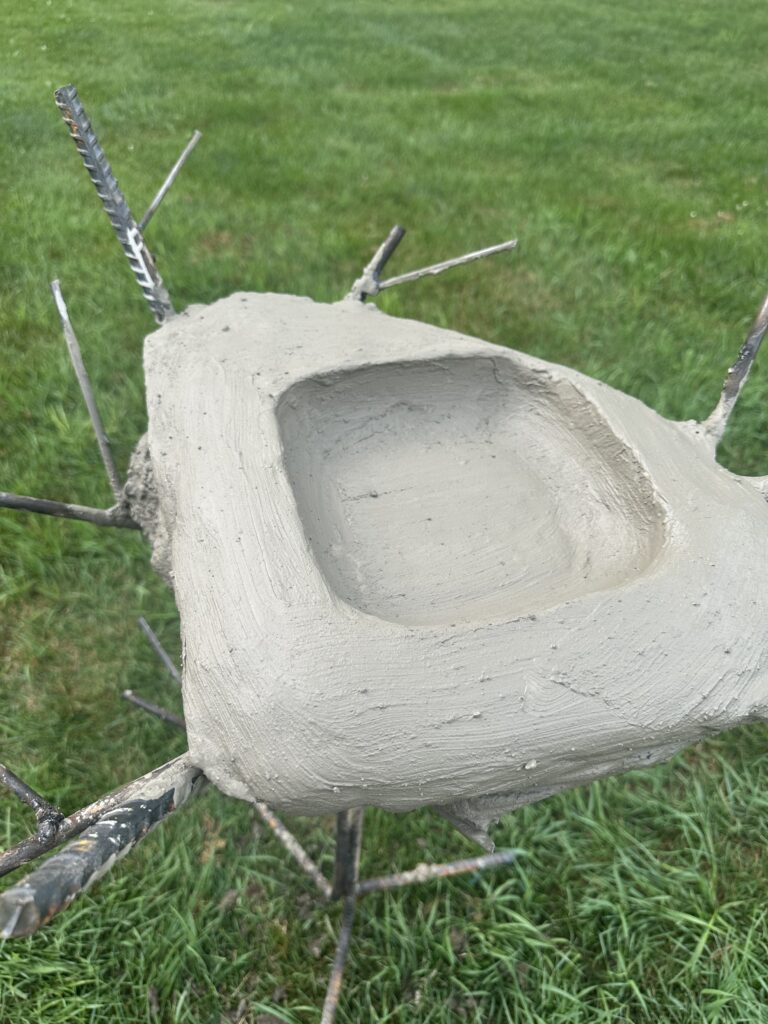
After the concrete, I added more rods, acting as twigs and sticks in the nest.
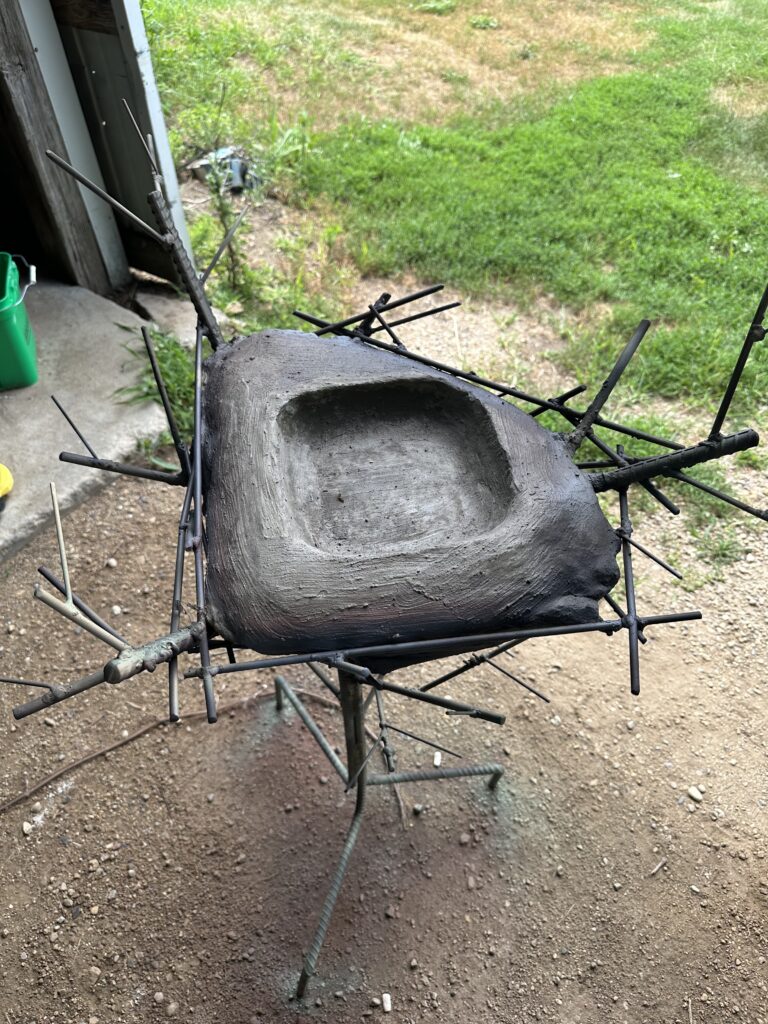
I then ground down all of the sharp edges, and started on paint. Using Rust-Oleum camo paint, a flat paint that hit the colors I needed. I used a little more green at the top, a little darker brown at the base of the tree. I also used more gray in the nest, for the older branches. I’m colorblind, so did my best.
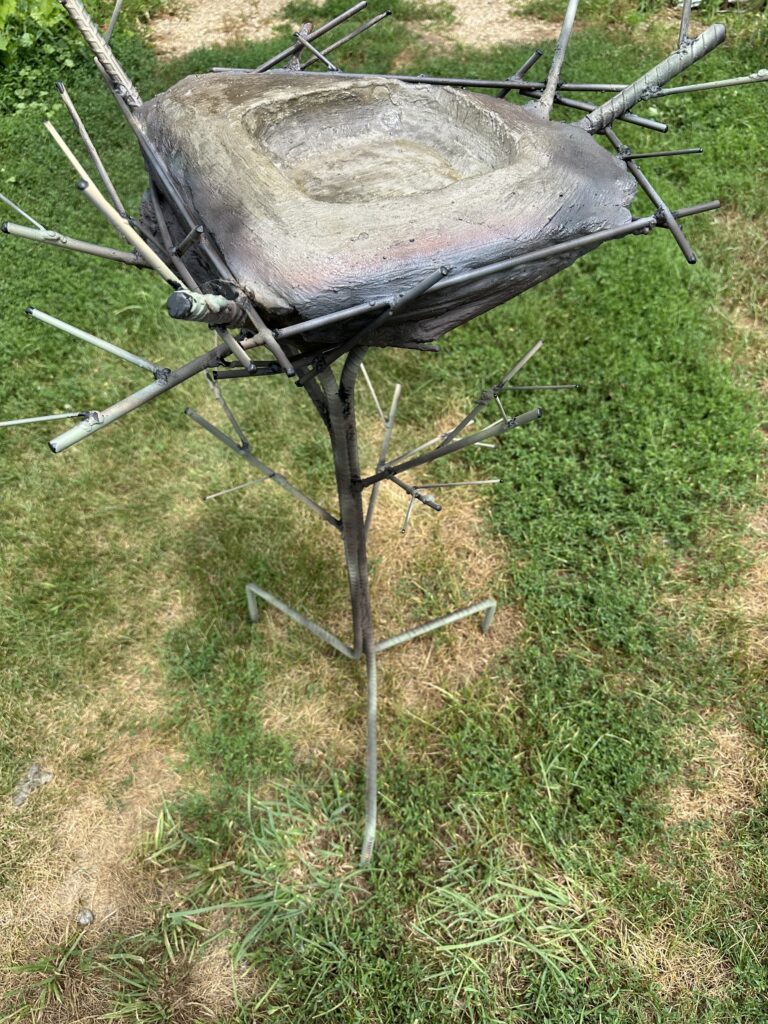
I knew I was creating an eye-poking hazard when I started…so then applied plasti-dip to all of the branch ends.
Finally, I coated the concrete nest with tung oil, which won’t harm the birds, and will help repel water from absorption, so will help in Wisconsin’s freeze-thaw cycles.
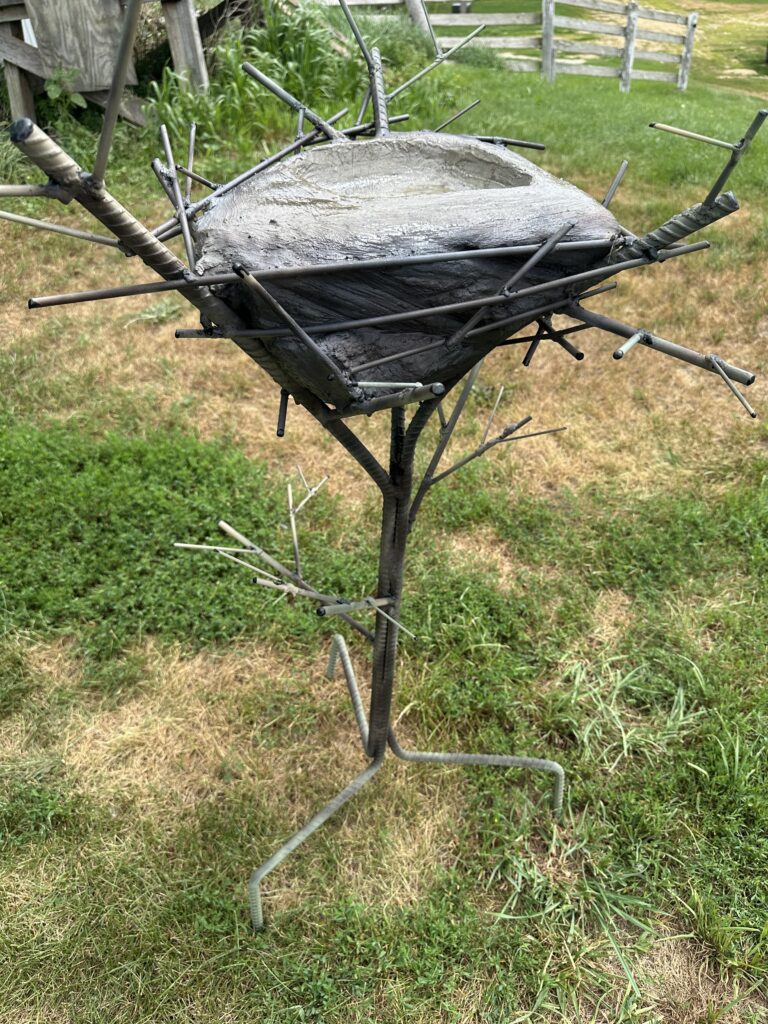
I plan on making more, so if you’d like one…just let me know and I’ll make some more!
